Description
The Feedback activity can be used to create a custom survey. The results of the survey can be viewed in detail or as a graph, giving an overall summary. The feedback results may also be exported as an Excel file.
For course evaluation specific information, see Course Evaluation Procedures or contact the ITRC.
This Guide Will Help You to:
Identify the Feedback tab
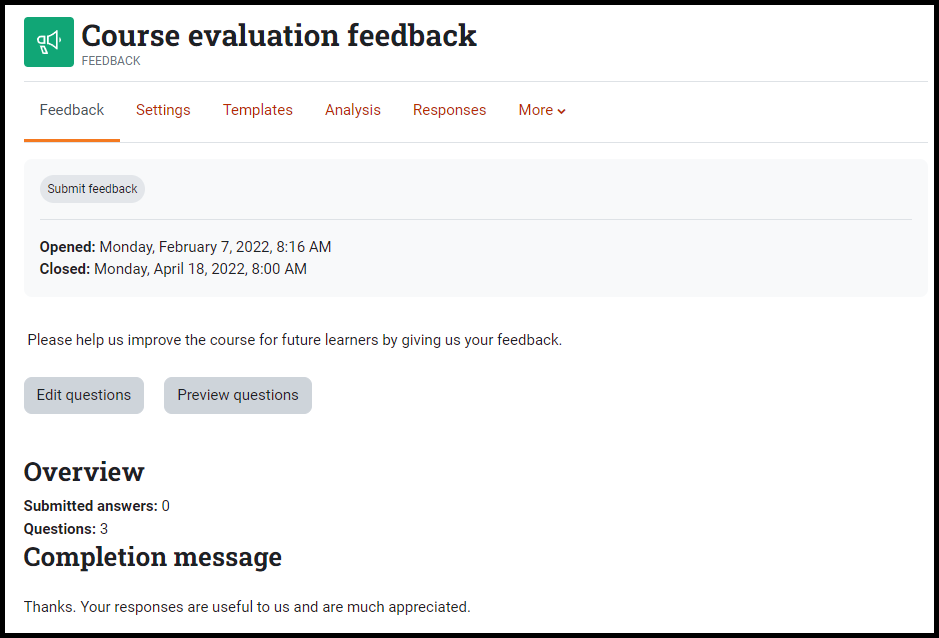
The Feedback section will allow you to view your description of the survey and the message or URL link that the students will be redirected to after submitting feedback.
Note: If there is not a URL listed in the Page after submit text box, the students will be directed back to the course homepage. The Overview area will also allow you to select which groups you want to make visible for the feedback activity. You will need to have set up groups in order to use this function. For more information, see Groups and Groupings Setup [Faculty]
Create or edit questions
The Feedback tab will allow you to add questions to your feedback. Additionally, it shows you a preview of the feedback. You can also use this page to edit, reorder, or remove questions.
Note: When creating or editing questions, you have the option to make specific questions required.
-
Open the Feedback activity
-
From the Feedback tab, select Edit questions.
-
Under the first drop-down menu, select Add question.

-
Under the second drop-down menu, select the type of question to create.

Identify feedback question types
Add a page break:
This is not a question and is used for the Dependence Item feature that is discussed later on in this guide.
Captcha:
This asks a person to write out some distorted text which is displayed on the screen. It is a test to make sure a real person is filling in the form and not an automatic spamming program.
Information:
This is not a question; it is automatically generated information which contains: when the evaluation was started, the course name, and the semester. You have the option of using three different information tools:
-
Response time: Shows the date and time the evaluation was completed.
-
Course: Gives the name of the course.
-
Course category: Gives the semester and year of the course
Label:
Similar to a standard Moodle label, this allows you to add text (such as special instructions) between questions allowing for extra explanation or to divide the feedback into sections
Longer text answer:
Similar to an essay, this option creates a text box (you will specify how large the answer box will appear in rows and columns) in which people can write a long answer. Suggestions for answer box:
-
Width: 30-40
-
Lines: 15-20
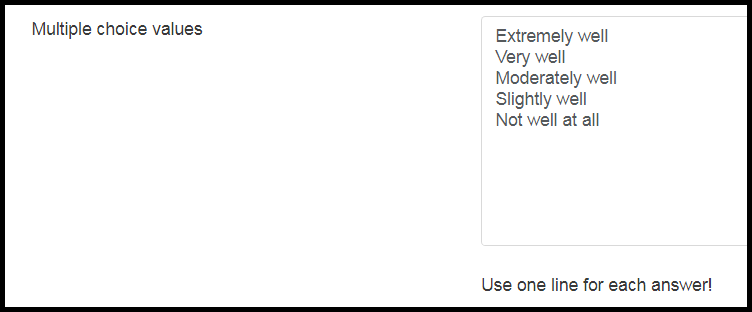
Multiple choice:
Here you can provide a list of responses for students to choose. Do the following to create a basic multiple choice question:
-
Type your question into the Question text box.
-
From the Multiple choice type, choose either single answer or multiple answer.
-
In the Multiple choice values text box, type your answers. Make sure that you use a separate line for each answer.
-
Select Save question.
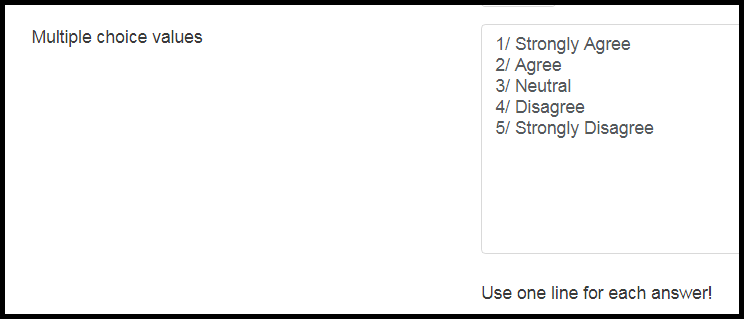
Multiple choice (rated):
This is similar to the other multiple choice option. However, the rated choice option will allow you to put numerical value to your students’ answers if you want to analyze them statistically. The value will be a sliding scale (Likert Scale). Do the following to create a basic rated multiple choice question:
-
Type your question into the Question text box.
-
From the Multiple choice type, choose either single answer or multiple answer.
-
In the Multiple choice values text box, type your answers, mimic the following:
1/ Strongly Agree
2/ Agree
3/ Neutral
4/ Disagree
5/ Strongly Disagree
-
Select Save question
Numeric answer:
This is used for questions that need a specific number as the response. For example, “How old are you?”
-
Type the question into the Question text box.
-
Enter the acceptable range for the numeric answer by using the Range from and Range to text boxes.
-
The question will provide the acceptable range that you’ve created. For example: “How old are you? (1-100).” In this example question, the acceptable range is 1 to 100.
-
Select Save to save your question.
Short text answer:
This option lets you specify a single line answer. You must specify the maximum number of characters you will accept, so that the answer is not too long and/or does not run over the length of the box on screen.
Note: It is recommended that you make the Text field width the same value as the maximum of characters accepted.
Export/Import questions
Instructors can export and import questions into the feedback. The export/import function can be very useful, especially if you are using the same set of questions in multiple feedbacks. The questions are saved in an .xml file which can be saved on your computer, imported into other classes and/or shared with colleagues.
If you have questions regarding templates, contact the ITRC
To export questions:
-
Go to the Feedback tab, select Edit questions
-
Select the Export questions button
-
Select Export questions.

-
Follow the computers specific prompts to rename, organize, and save the file onto the computer:
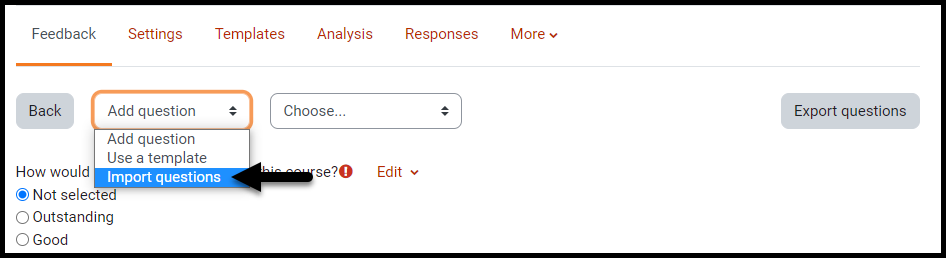
To import questions:
-
Go to the Feedback tab, select Edit questions
-
In the first drop-down menu, select Import questions
-
Use the file picker to either Drag and drop the file or Choose a file:
-
Select Choose a file.
-
Locate your saved questions.
-
Select the file.
-
Select Yes.

For more information see, File picker
-
Select whether you want to Delete old items or Append new items.
Note: Deleting old items will delete all the current questions and user responses. Appending new items will preserve all the old questions and the assigned values.
-
Select Save.
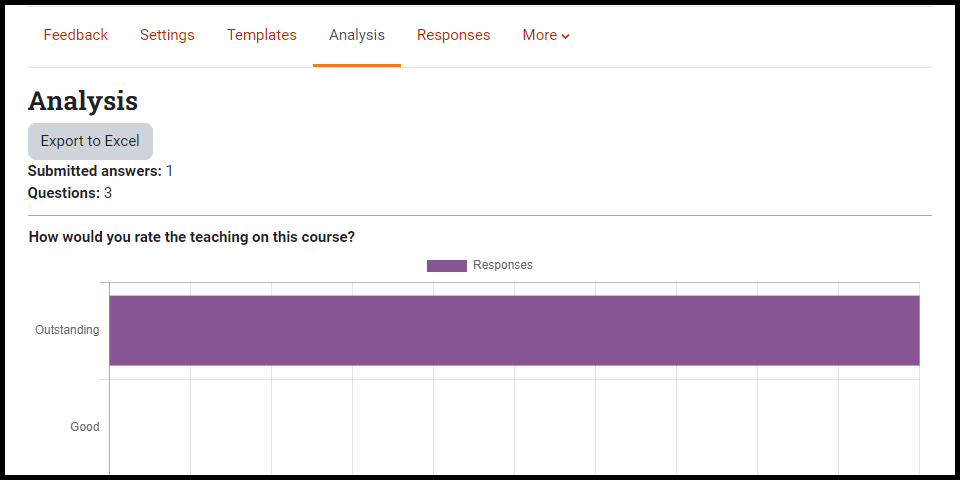
Analyze with the analysis tab
Within the Analysis tab, you will be able to view a list of all responses submitted for each of the questions within the feedback activity. These responses are shown in graph form. These results can be exported to Excel.
Analyze with the show responses tab
Within the Show responses tab, you can view the responses submitted by each user. These responses show all answers to all questions within the Feedback activity for an individual user. You can also download this data.
-
Select the Show responses tab.
-
Scroll to see results or download data by selecting the drop-down arrow and select Microsoft Excel

-
Select Download
-
Follow the computers specific prompts to rename, organize, and save the file onto the computer:
-
Microsoft - Download files from the web
-
Apple - Download items from the web using Safari on Mac
-
Google - Download a file
Note: If you selected Anonymous for the Record usernames option when creating the activity, you will still be able to look at individual responses - you just won’t be able to see who submitted them.
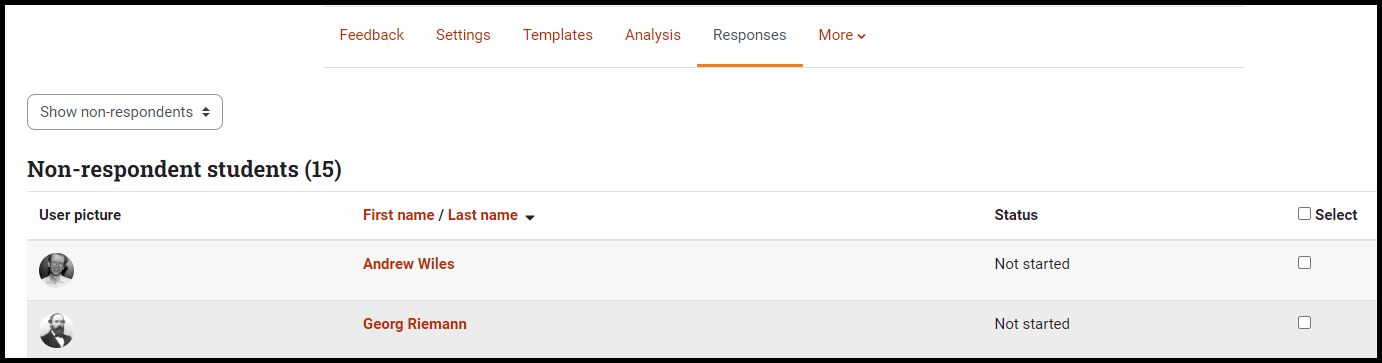
Show Non-Respondents Tab
Note: This tab is available only if the responses are not set to anonymous.
-
Select the Responses tab.
-
In the drop-down menu, select Show non-respondents.

-
On this page, you can select the students you would like to message. These are students who have not submitted a response to the activity.
-
Scroll down to the message box.
-
Once your message is written, select Send.

Create dependence item
Dependence Item is a feature that allows you to make the questions in which you have added to the survey dependent upon the answer to a previous question.
For example, Question 1 might ask if the student has a dog. If the participant answers yes, jump to question 2. If the participant answers no, jump to question 3.
Warning: Your questions need to have a label. Doing so will assist in mapping questions that use the dependence item.
-
Set up your initial question and give it a name in the Label field.

-
Add a Page break
-
Add the question to go to if (for example) the participant replies 'Yes'.
-
In Dependence item, select the Label of your first question.
-
In Dependence value, type your dependent answer (such as 'Yes' in our example.)

Warning: The dependence value must match exactly to the answer value
-
Follow the same process if you want users who responded differently to go to a different dependence question (like the example below). If you don’t include a secondary dependence question; users who respond differently will go to the next available question.
Note: The Edit question page will indicate how the dependence items are set up with the question label and the dependence value indicated in red: 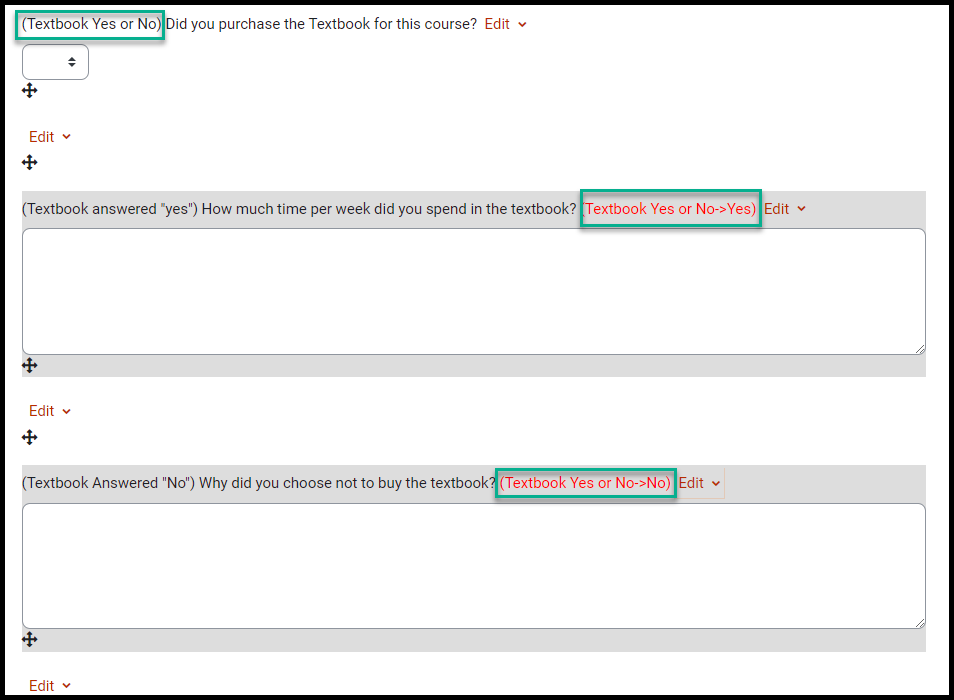
Duplicate questions
When creating multiple questions with similar format, you can save yourself some time by editing an existing question and saving it as a new question.
-
Open the Feedback activity
-
From the Feedback tab, select Edit questions.
-
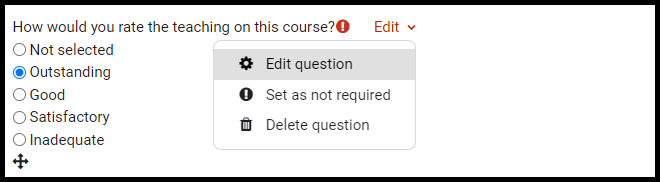
Choose the desired question, select Edit then Edit question.
-
Make all necessary changes to the question.
-
Select Save as new question at the bottom of the page.

Preview the feedback activity
-
Open the Feedback activity.
-
From the Feedback tab, select Preview questions.
-
Review the questions and select continue.
Note: If you want your response included in the activity, give yourself the student role and change your role to student and then complete the feedback activity.
Seek Further Assistance
For additional assistance, please contact the ITRC at (208) 282-5880 or itrc@isu.edu
For more information please visit, Moodle.org:

This work was created by the Idaho State University Instructional Technology Resource Center and is licensed under a Creative Commons Attribution-NonCommercial 4.0 International License